Having reliable VPN server to virtually travel the world and browse the Internet safely matters a lot nowadays. In this tutorial we will guide you through the process of setting up your own secure Virtaul Privite Network server using Docker. For the sake of convinience and reliability we chose OpenVPN solution. It has few advantages over other providers, the most important one is its ubiquity and pretty high security level.
Prerequisites
To get started you'll have to have a few things:
- Linux server
- Public IP address
- Docker
Linux server
There is a plethora of options on the market. You can go alog with your own hardware server or rent a Virtual Private Server (VPS) in the cloud, to name but few providers: Amazon AWS, Digital Ocean, Google Cloud Services. Choose the one you like the most and leap forward.
Public IP address
Whichever server option you chose, you'll have to make sure your server has a publically available IP address assigned to it. If you rent your server from a hosting provider, it should be possible to do it from the dashboard of your controll panel.
Docker
Though many hosting providers offer VPS solutions with preinstalled Docker or Kubernetes, sometimes you have to make this installation on your own. If this is the case, you shouldn't be scared — the installation steps are easy and won't take much time.
Guideline steps
The next simple steps will help you to get started with docker-openvpn.
1. Run docker-openvpn
Copy'n'paste the below code snippet into you server console.
docker run -it --rm --cap-add=NET_ADMIN \
-p 1194:1194/udp -p 80:8080/tcp \
-e HOST_ADDR=$(curl -s https://api.ipify.org) \
--name dockovpn alekslitvinenk/openvpn
⚠️ Note: This snippet runs DockoVPN in attached mode, which means if you close your terminal window, container will be stopped. To prevent this from happening, you first need to detach container from ssh session. Type Ctrl+P Ctrl+Q
2. Get client config file
Wait until the previous step completes and you see the output similar to following:
Sat Mar 7 08:45:32 2020 Config server started, download your
client.ovpn config at http://81.198.169.234/
Sat Mar 7 08:45:32 2020 NOTE: After you download you client
config, http server will be shut down!
Copy printed link and paste it in your browser's address bar, then press Enter. Config will be downloaded in a moment.
3. Feed downloaded config to your OpenVPN cleint
There are many client applicatins available for all platforms. In this tutorial we are going to use Tunnelblick for Mac, but steps for any other client should be similar.
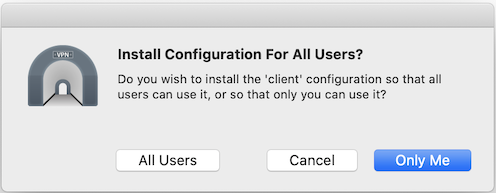
It should be enough to just doubleclick client.ovpn file and it'll start getting installed.

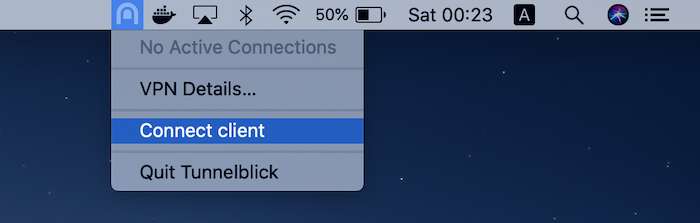
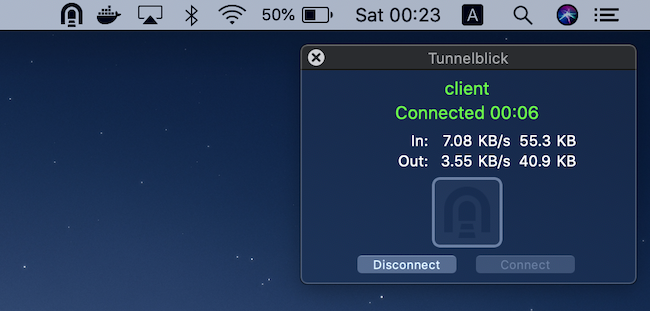
4. Connect to your OpenVPN server
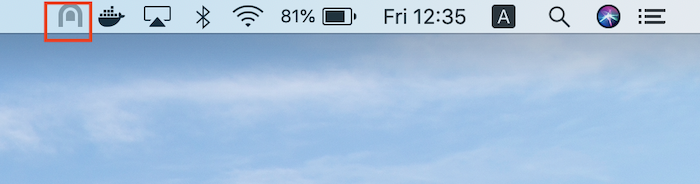
After client config installation is completed, you should be able to connect to your OpenVPN server from context menu of Tunnelblick application in status bar.
Establishing connection usually takes few seconds. After this is completed you'll see this window right below status bar.
Summary
In this short tutorial we've seen an example of quick launching of OpenVPN server in Docker. The whole process, starting from the point when you enter docker run command in your server's terminal to the moment when server is up and running and ready to acept connections, takes approximately 2 seconds. Add to this couple of more seconds to import generated client configuration. We encourage you to further explore our Documentation and get maximum utility from your DockoVPN.
Additionally you can watch this video tutorial below showing in details the described process using Digital Ocean hosting provider.